Creating a DIY referee shirt is a rewarding endeavor that allows you to express your personal style while ensuring functionality and comfort. Whether you're an amateur referee or simply someone who enjoys crafting, designing your own uniform can be both fun and practical. With the right tools and techniques, anyone can create a high-quality, professional-looking shirt tailored to their specific needs.
This guide will take you through every step of the process, from choosing the right materials to adding the final touches. By the end, you'll have a comprehensive understanding of how to make a referee shirt that not only meets your requirements but also stands out in terms of quality and design.
Whether you're looking to save money, customize your uniform, or simply enjoy the satisfaction of creating something by hand, this guide will provide you with all the information you need. Let's dive into the world of DIY referee shirts and explore how you can craft your own unique uniform.
Read also:Jack Doherty Girlfriend Name A Comprehensive Guide To His Personal Life
Contents:
- Choosing the Right Material for Your DIY Referee Shirt
- Design Considerations for Your Custom Referee Shirt
- Tools You’ll Need to Make a Referee Shirt
- A Measuring Guide for Perfect Fit
- The Sewing Process: Step-by-Step Instructions
- Customization Options for Your Referee Shirt
- Troubleshooting Tips for Common Issues
- Cost Comparison: DIY vs. Store-Bought Referee Shirts
- Maintenance and Care for Your DIY Referee Shirt
- Final Tips for Crafting Your Perfect Referee Shirt
Choosing the Right Material for Your DIY Referee Shirt
When it comes to making a DIY referee shirt, the material you choose is crucial. The fabric must be breathable, durable, and comfortable enough to allow for ease of movement during games. Here are some popular options:
Moisture-Wicking Fabrics
Moisture-wicking fabrics are designed to draw sweat away from the skin, keeping you dry and comfortable. These materials are ideal for active wear and are often used in professional referee uniforms. Examples include polyester blends and spandex.
Cotton vs. Synthetic Fabrics
While cotton is soft and breathable, it tends to absorb moisture, making it less suitable for high-intensity activities. Synthetic fabrics, on the other hand, are lightweight, quick-drying, and offer better durability. Consider blending cotton with synthetic fibers to achieve the best of both worlds.
Design Considerations for Your Custom Referee Shirt
Designing your referee shirt involves more than just picking a color and pattern. You need to think about functionality, style, and personal preferences.
Color Choices
- Black: A classic and versatile choice that hides dirt and stains well.
- White: Offers a clean, professional look but may require more frequent washing.
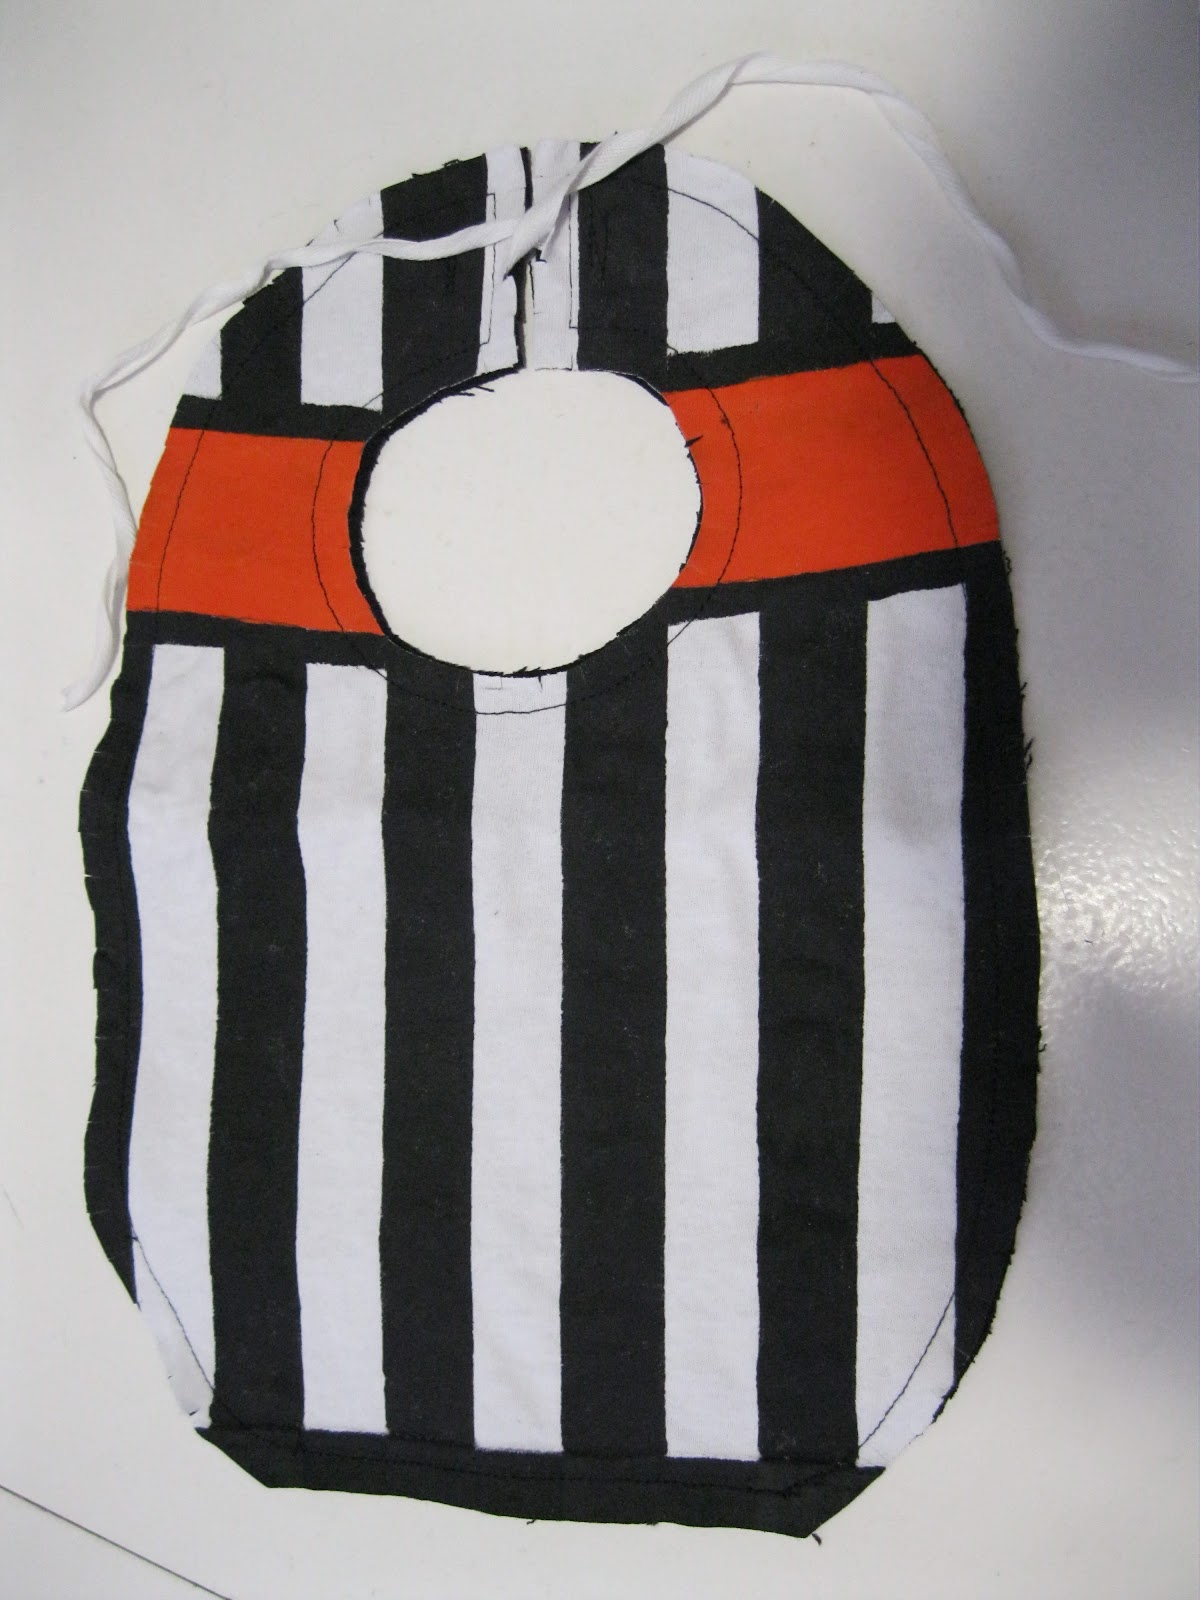
- Stripes: Traditional referee shirts often feature black and white stripes, which help referees stand out on the field.
Fit and Style
Consider whether you prefer a loose fit for comfort or a more tailored fit for a professional appearance. Ensure the shirt allows for full range of motion without being too restrictive.
Read also:Kardashians Family Tree A Comprehensive Guide To The Iconic Family Dynasty
Tools You’ll Need to Make a Referee Shirt
Before you start sewing, gather all the necessary tools and equipment. Here's a list to help you get started:
- Sewing machine
- Fabric scissors
- Measuring tape
- Pattern paper
- Needles and thread
- Iron and ironing board
A Measuring Guide for Perfect Fit
Accurate measurements are essential for creating a referee shirt that fits perfectly. Follow these steps to measure yourself:
Steps to Measure
- Chest: Measure around the fullest part of your chest, keeping the tape parallel to the floor.
- Waist: Measure around your natural waistline, usually just above your belly button.
- Shoulders: Measure from the edge of one shoulder to the other.
- Arm Length: Measure from the top of your shoulder to your wrist.
The Sewing Process: Step-by-Step Instructions
Now that you have your materials and measurements, it's time to start sewing. Follow these steps for a seamless process:
Step 1: Cutting the Fabric
Using your pattern and measurements, carefully cut the fabric into the required shapes. Be sure to leave extra fabric for seams.
Step 2: Assembling the Shirt
Begin by sewing the shoulder seams, followed by the side seams. Attach the sleeves next, ensuring they fit snugly into the armholes.
Step 3: Adding Finishing Touches
Hem the sleeves and bottom edge of the shirt. If desired, add any embellishments, such as embroidery or patches, to personalize your referee shirt.
Customization Options for Your Referee Shirt
Personalizing your referee shirt can make it uniquely yours. Here are some ideas:
- Embroidery: Add your name, team logo, or other designs using embroidery.
- Patches: Attach patches to represent your club or achievements.
- Color Blocking: Use contrasting colors to create a bold, eye-catching design.
Troubleshooting Tips for Common Issues
Even the most experienced sewers encounter problems from time to time. Here are some common issues and how to fix them:
- Uneven Seams: Double-check your measurements and adjust as needed.
- Twisted Fabric: Pin the fabric securely before sewing to prevent it from shifting.
- Thread Tangles: Ensure your sewing machine is properly threaded and the tension is adjusted correctly.
Cost Comparison: DIY vs. Store-Bought Referee Shirts
Making your own referee shirt can be more cost-effective than buying one. Here's a breakdown of potential costs:
DIY Costs
- Fabric: $10-$20
- Thread and notions: $5-$10
- Total: $15-$30
Store-Bought Costs
- Basic referee shirt: $25-$50
- High-end referee shirt: $50-$100
Maintenance and Care for Your DIY Referee Shirt
Proper care will ensure your DIY referee shirt lasts for many games. Here are some care tips:
- Wash in Cold Water: This helps prevent fading and shrinking.
- Avoid Bleach: Use color-safe detergents to maintain the shirt's vibrant colors.
- Dry on Low Heat: High heat can damage synthetic fabrics, so use a low-heat setting or air dry.
Final Tips for Crafting Your Perfect Referee Shirt
Creating a DIY referee shirt is a fulfilling project that combines creativity and practicality. Remember to take your time, follow the steps carefully, and don't be afraid to experiment with designs and materials. With practice, you'll be able to craft shirts that not only meet your needs but also reflect your personal style.
For more information on sewing techniques and materials, consider consulting resources such as sewing.com or fabric.com.
Kesimpulan
Making your own DIY referee shirt offers numerous benefits, from cost savings to personalization. By following the steps outlined in this guide, you can create a high-quality uniform that meets all your requirements. Remember to choose the right materials, take accurate measurements, and pay attention to detail during the sewing process.
We encourage you to share your experience in the comments below or explore other articles on our site for more crafting tips and ideas. Happy sewing!